Apple Pay
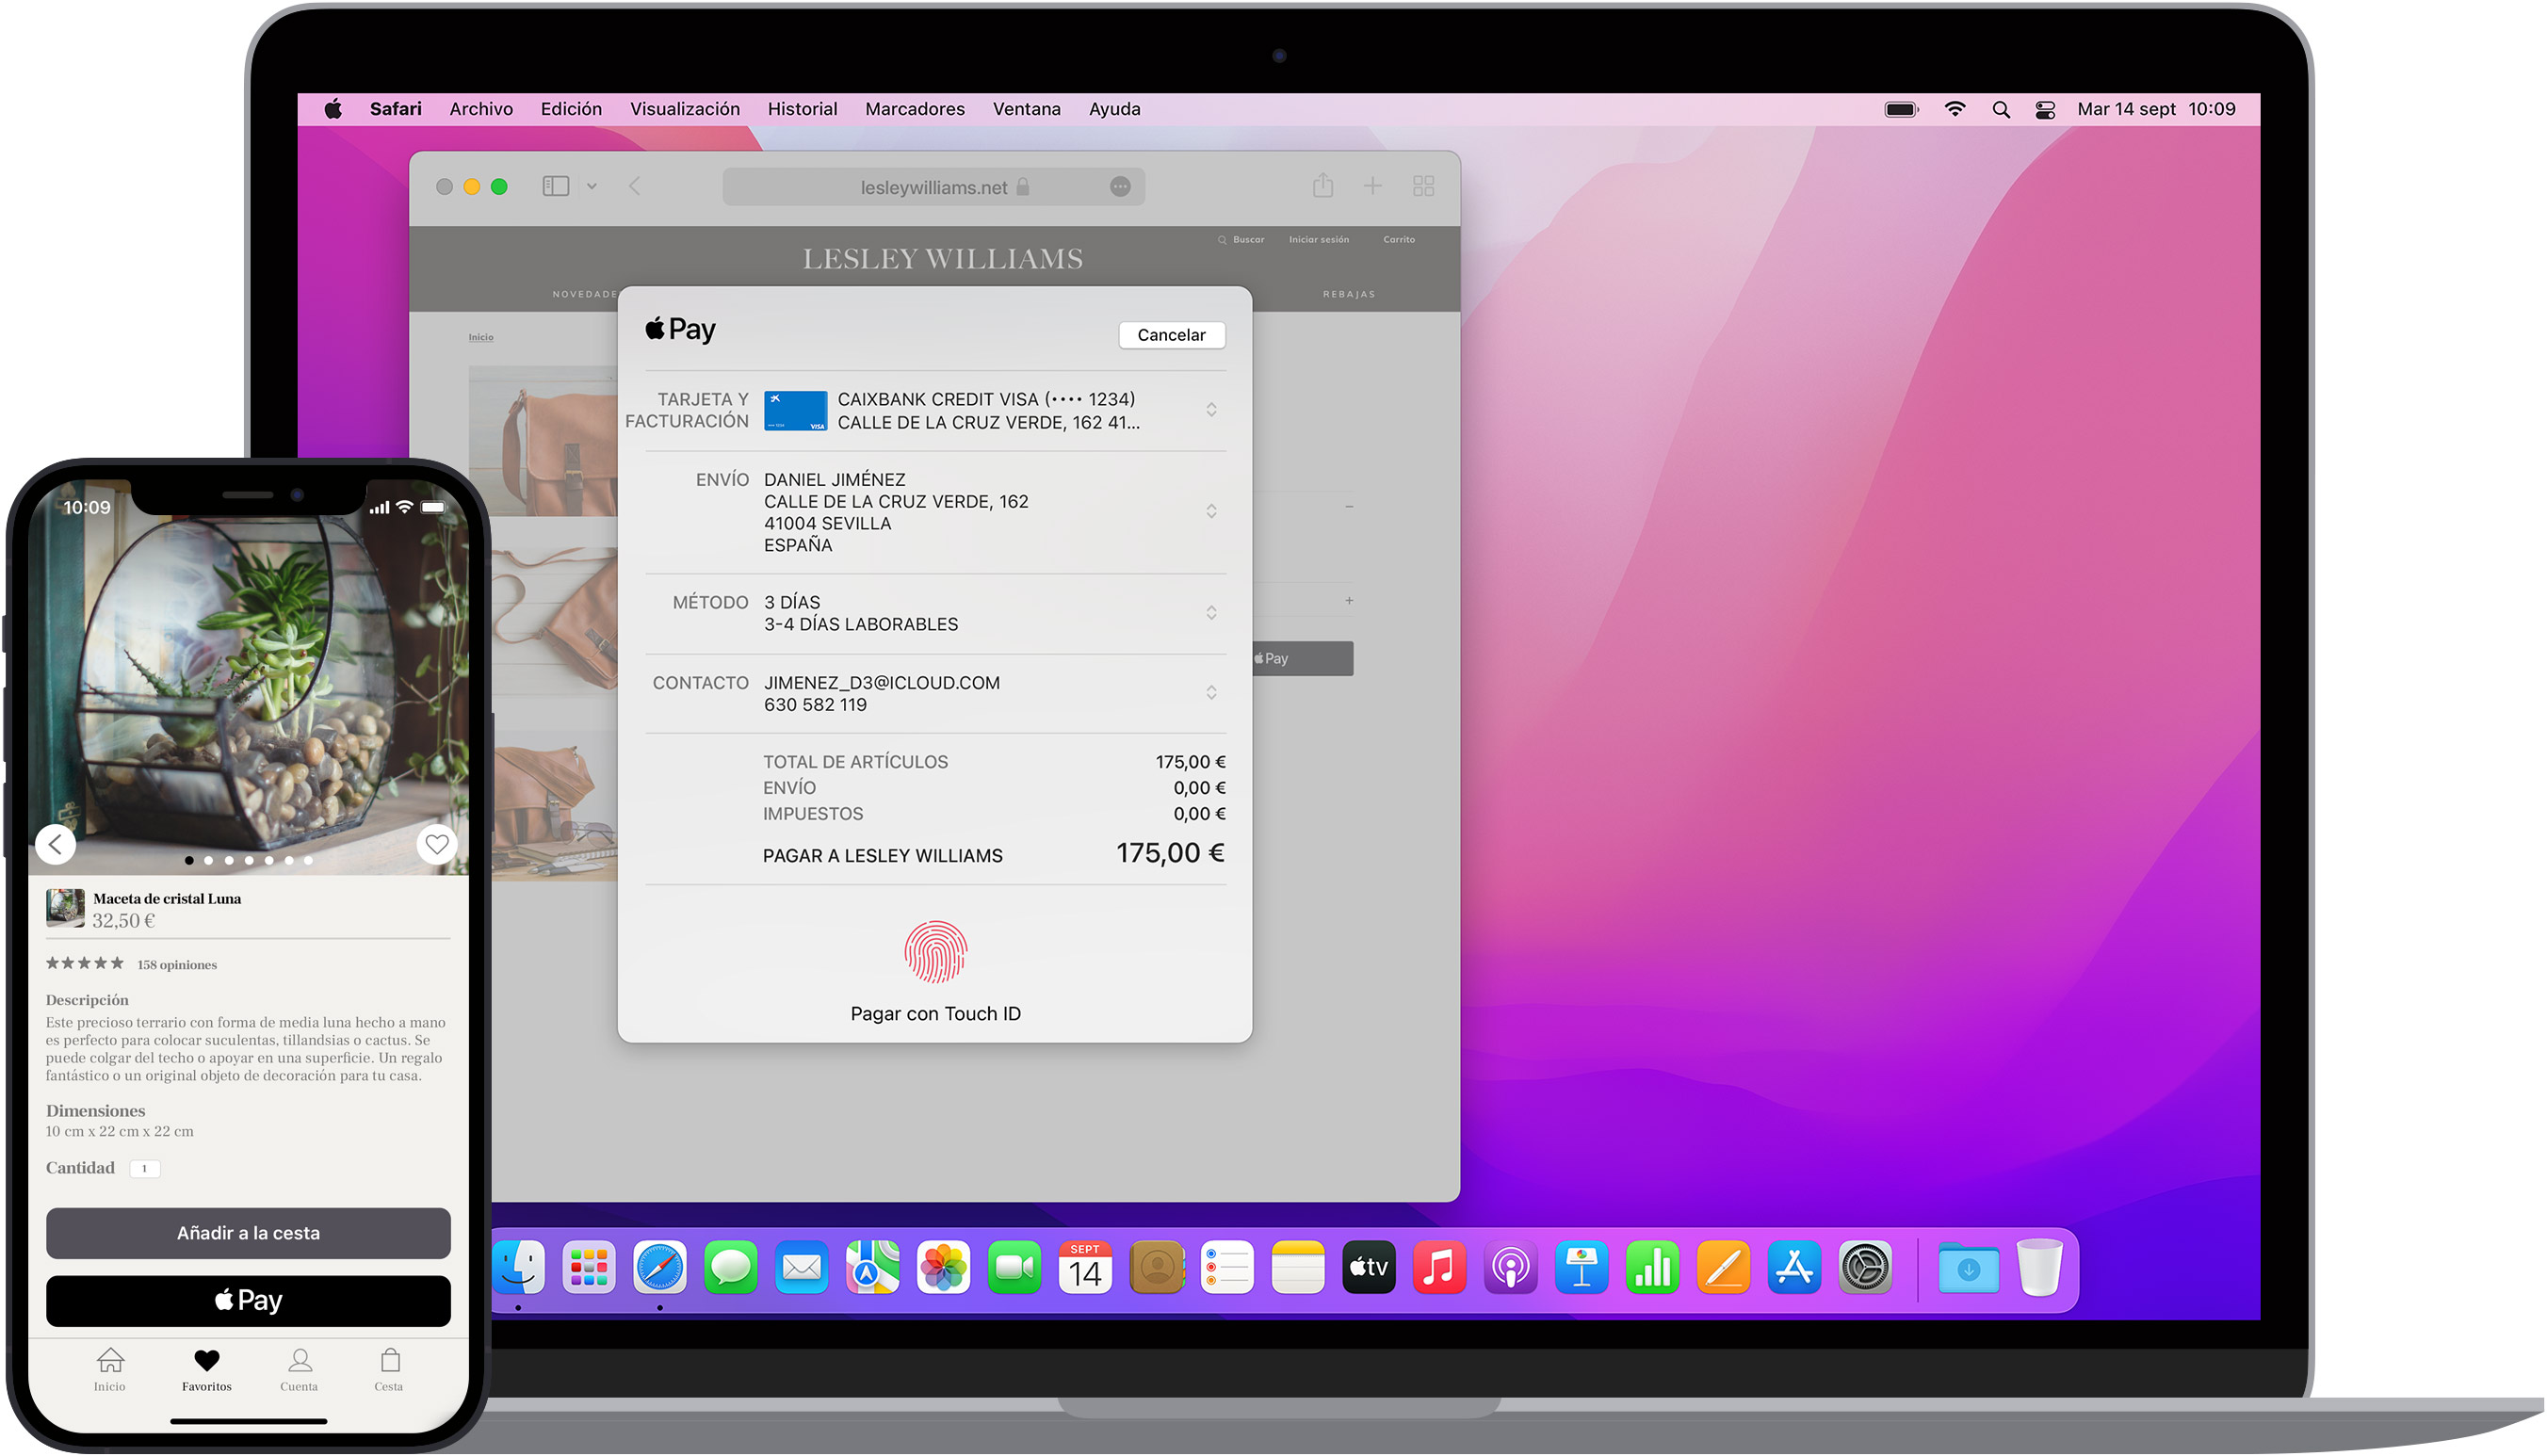
Merchants seek payment methods that enable quick, easy, and secure purchases. Apple Pay provides high conversion rates by leveraging these qualities.
How It Works
Features
- Type: e-wallet
- Channel:
- Online Payments
- In-Person Payments
- Operations:
- Sales
- Partial Refund
- Full Refund
- Cancellations
Integration
The integration for in-person payments is automatic and supported on all PIN Pads.
The integration for the e-commerce channel consists of two parts: frontend component and backend.
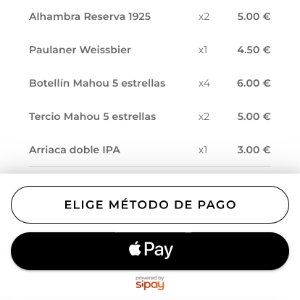
You can integrate the solution as part of a redirect/hpp or as a component. This section will guide you on integrating it as a button you can place anywhere on the merchant's website.
Frontend Component
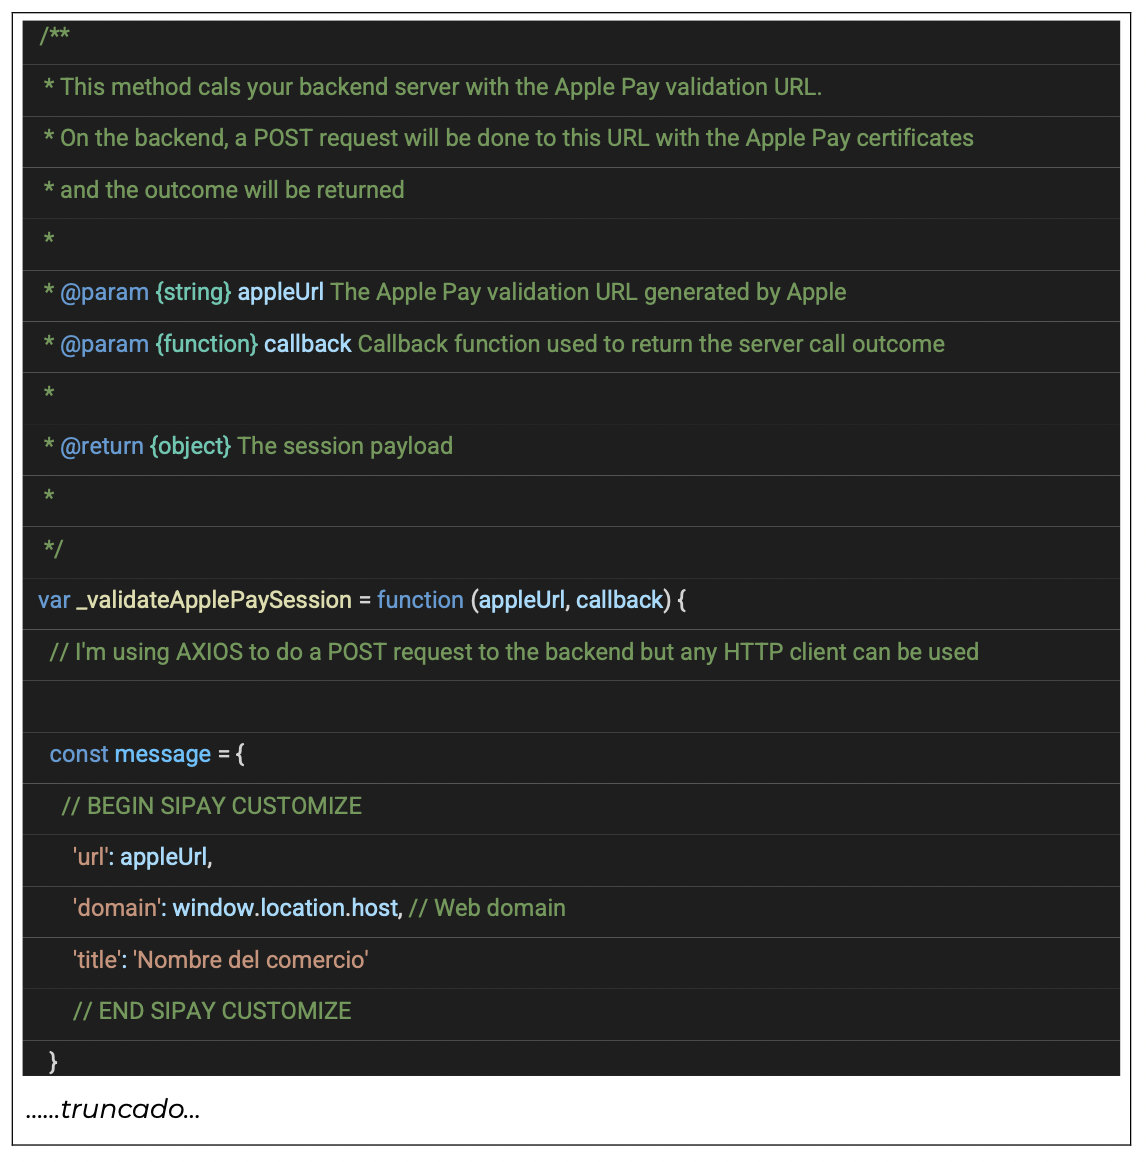
On the frontend, use the Apple-specific guide. The following code sample shows a JavaScript and CSS example based on Apple’s official guide, which would be fully functional.
If you examine the example JavaScript code, you’ll notice placeholders as comments with content like:
// BEGIN SIPAY CUSTOMIZE
// END SIPAY CUSTOMIZE
The code between these comments is what needs to be customized according to your configuration and business process, including:
- Customizing backend URLs for the Merchant
- Order information: supported cards, product amount, visible merchant name, etc.
- Configuration of the domain where the payment web is hosted
- Designing the notification flow and displaying the operation result
1. Merchant Backend URL
To process an Apple Pay transaction, a valid session with Apple must first be generated (BACKEND_URL_VALIDATE_SESSION), allowing you to retrieve the encrypted card information from the user once authenticated on the device (BACKEND_URL_PAY).
Both endpoints will be managed by the Merchant. We provide functional examples to guide your development.
The URLs included in this example will work in a sandbox environment. Although it requests your actual card, no charge will be made, and data will not pass through insecure environments.
// BEGIN SIPAY CUSTOMIZE
var BACKEND_URL_VALIDATE_SESSION = "https://enpr4mevu14qbjf.m.pipedream.net";
var BACKEND_URL_PAY = "https://enl6ugm0xqdbbf3.m.pipedream.net";
// END SIPAY CUSTOMIZE
2. Order Information
We recommend customizing the following parameters:
- acceptedCardSchemes
- product_price
- shop_name
- currencyCode
- countryCode
The shipping parameters will not be used in the complete example provided, so they can be omitted.
// BEGIN SIPAY CUSTOMIZE
var config = {
  payments: {
    acceptedCardSchemes: ["amex", "masterCard", "maestro", "visa", "mada"],
  },
  shop: {
    product_price: 10.0,
    shop_name: "Tienda Demo",
    shop_localisation: {
      currencyCode: "EUR",
      countryCode: "ES",
    },
  },
  shipping: {
    ES_region: [
      {
        label: "Free Shipping",
        amount: "0.00",
        detail: "Arrives in 3-5 days",
        identifier: "freeShipping",
      },
      {
        label: "Express Shipping",
        amount: "5.00",
        detail: "Arrives in 1-2 days",
        identifier: "expressShipping",
      },
    ],
    WORLDWIDE_region: [
      {
        label: "Worldwide Standard Shipping",
        amount: "10.00",
        detail: "Arrives in 5-8 days",
        identifier: "worldwideShipping",
      },
    ],
  },
};
// END SIPAY CUSTOMIZE
3. Domain Configuration
These values will depend on the environment where your application is deployed. Typically, there are two environments: testing, which we call sandbox, and production or live.
The url parameter is a value that allows Apple to distinguish whether it’s a testing or production environment, thereby avoiding certain validations that could slow down your integration. Therefore, when moving to production, url should be set to the appleUrl value.
      // BEGIN SIPAY CUSTOMIZE
        // 'url': appleUrl, <- LIVE
        'url': 'https://apple-pay-gateway-cert.apple.com/paymentservices/paymentSession', // <- SANDBOX
        'domain': window.location.host, // Web domain
        'title': 'Sale'
        // END SIPAY CUSTOMIZE
4. Notification and Display of the Result
The provided example code is used to display the operation result to the user. In this case, we used images and a div layer with id=paymentStatus to add the content.
This code should be the most customized part according to your requirements.
          // BEGIN SIPAY CUSTOMIZE
          paymentStatusElement.innerHTML = '<img src="images/ok.png" /><p><h1>¡PAGO REALIZADO CON ÉXITO!</h1></p>';
          uiController.hideApplePayButton()
          console.log('Authorization Succesful');
          // END SIPAY CUSTOMIZE
        } else {
          appleSession.completePayment(ApplePaySession.STATUS_FAILURE)
          // BEGIN SIPAY CUSTOMIZE
          paymentStatusElement.innerHTML = '<img src="images/ko.png" /><p><h1>¡PAGO FALLIDO!</h1></p>';
          uiController.hideApplePayButton()
          console.log('Authorization Fail');
          // END SIPAY CUSTOMIZE
Backend Component
In the frontend integration, during step 1, we defined the BACKEND_URL_VALIDATE_SESSION variable, which should contain the merchant's backend URL to validate the Apple session.
The JSON message sent to that endpoint will look like this:
{
  "url": "https://apple-pay-gateway-cert.apple.com/paymentservices/paymentSession",
  "domain": "merchant.domain.com",
  "title": "Test Merchant"
}
It’s important to highlight that both url and domain will be variable data, depending on the environment where the merchant’s web is deployed. Therefore, you should avoid setting these values statically and always expect their original values from the frontend.
Once this message is received, we construct and sign a new JSON message. The endpoint where we send the information:
POST /apay/api/v1/session
The complete example would be:
{
  "key": "key",
  "resource": "resource",
  "nonce": "3129492212851",
  "mode": "sha256",
  "payload": {
    "url": "https://apple-pay-gateway-cert.apple.com/paymentservices/paymentSession",
    "domain": "merchant.domain.com",
    "title": "Comercio de prueba"
  }
}
We will receive a response that must be returned to the frontend without any modification. The JavaScript code receiving this message on the frontend will interpret the information and allow the payment process to continue:
{
   "type": "response",
   "code": "0",
   "detail": "Session ok",
   "payload": {
      "epochTimestamp": 1639134192923,
      "expiresAt": 1639137792923,
"merchantSessionIdentifier": "SSH23CAC1AD3DE6truncated",
      "nonce": "937b37c4",
      "merchantIdentifier":
"FA346D19E94033EE7A7787CB85D7F34CB45D02Dtruncated",
      "domainName": "merchant.domain.com",
      "displayName": "Comercio de prueba",
      "signature":
"308006092a864896086480165030402010500308006092a8truncated",
      "operationalAnalyticsIdentifier": "Comercio de
prueba:FA346D19E94033EE7A7787CB85D7F34CB45D02truncated",
      "retries": 0,
      "request_id": "b001d0e2668d4bb58truncated"
   },
   "uuid": "b001d0e2-668d-4bb5-833b-5f55312c7c2c"
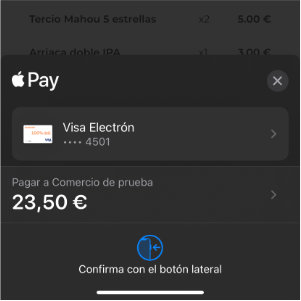
The authentication prompt will be displayed to the Apple user, and once they authorize the transaction via FaceID, code, or fingerprint, the frontend will send a new message to the backend at BACKEND_URL_PAY similar to this:
{
  "request_id": "03ac79a677a2457688e443f8e5ff3d19",
  "token": {
    "paymentData": {
      "data": "yr6VXOq3M4wqG/2yH/0ur3a2YjlYcrBuBtruncated",
      "signature": "MIAGCSqGSItruncated",
      "header": {
        "transactionId": "9a0fb627btruncated",
        "publicKeyHash": "g3z46UX51SEbl52cVe4ZkNtruncated",
        "applicationData": "6dbbf11f3dae8df4ef8a94ee079c4f1truncated",
        "ephemeralPublicKey": "MFkwEwYHKoZIzj0CAQYIKoZtruncated"
      },
      "version": "EC_v1"
    },
    "paymentMethod": {
      "displayName": "MasterCard 2754",
      "network": "MasterCard",
      "type": "credit"
    },
    "transactionIdentifier": "9A0FB627B9919AC5C48B88392347Ctruncated"
  }
}
The request_id was obtained from the previous step, session validation. The received message will allow us to construct and sign a new message where we confirm the amount, among other things.
The fields we need to add are:
- amount: the transaction amount in integer format and in cents. For example, to indicate €10, we would send 1000.
- currency: ISO code for the currency.
- token_apay: we add the JSON object received from the frontend.
The message should then be sent to the following endpoint:
POST /mdwr/v1/authorization
{
  "key": "key",
  "resource": "resource",
  "nonce": "3060101979255",
  "mode": "sha256",
  "payload": {
    "amount": 10,
    "currency": "EUR",
    "catcher": {
      "type": "apay",
      "token_apay": {
        "paymentData": {
          "data": "F5QCSsMtruncated",
          "signature": "MIAGCStruncated",
          "header": {
            "transactionId": "14e28883d773406978a70ctruncated",
            "publicKeyHash": "g3z46UX51SEbl52cVetruncated",
            "applicationData": "6dbbf11f3dae8df4ef8a94eetruncated",
            "ephemeralPublicKey": "MFkwEwYHKoZIzj0Ctruncated"
          },
          "version": "EC_v1"
        },
        "paymentMethod": {
          "displayName": "MasterCard 2754",
          "network": "MasterCard",
          "type": "credit"
        },
        "transactionIdentifier": "14E28883D773406978A70CC751Ftruncated"
      },
      "request_id": "a4df31bb5392456fab95truncated"
    }
  }
}
The previous message will allow processing the transaction. The response message will contain the necessary information to determine if the merchant can close the order, indicating whether the transaction is OK or KO.
{
  "type": "success",
  "code": "0",
  "detail": "authorization",
  "description": "Authorization processed successfully",
  "payload": {
    "code": "0",
    "amount": "10",
    "currency": "EUR",
    "order": "c7b17f49f77b4truncated",
    "card_trade": "consumer",
    "card_type": "mixed",
    "masked_card": "4548 81** ****7774",
    "reconciliation": "",
    "transaction_id": "000027346truncated",
    "cof_id": "79202134truncated",
    "authorizator": "OTROS ESPAÑA",
    "approval": "411237",
    "card_country": 724,
    "card_brand": "VISA"
  },
  "uuid": "9d9062f0-4a9e-45c3-truncated",
  "request_id": "61b356c73b1c1truncated"
}
The payload.code value will indicate if the transaction was successful when the value is 0, meaning OK. Any value other than 0 will indicate that the transaction was KO.
- payload.code == 0 OK
- payload.code != 0 KO
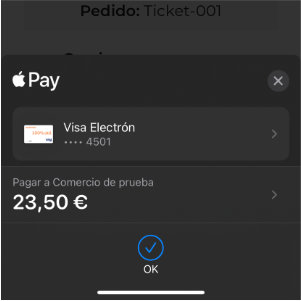
The previous JSON message should be sent to the frontend with an HTTP 200 status so that the Apple Pay payment prompt can display a successful payment.
Observations
The merchant's backend must allow receiving XHR requests. Therefore, they should come from the same domain where the frontend is located, or enable CORS on the server side.
Onboarding
Actions to be taken by Sipay
You will need to access Apple Developers with the management account (https://developer.apple.com/).
Go to the "Identifiers" section, select "MerchantIDs," and choose the active gateway profile.
In the "Merchant Domains" section, click "Add Domain." Enter the merchant's domain, such as www.example.com.
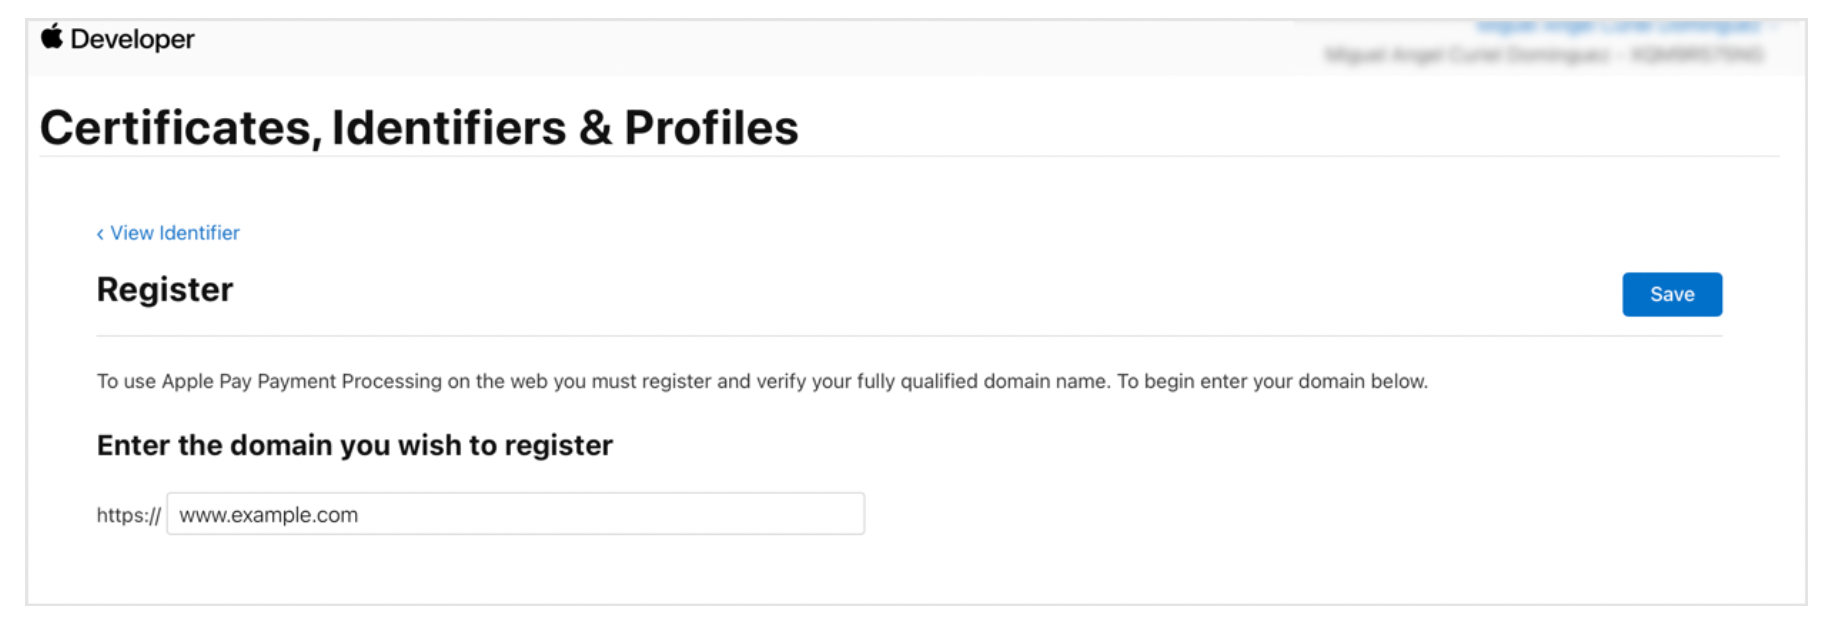
A verification file, apple-developer-merchantid-domain-association.txt, will be generated for the merchant to place at https://www.example.com/.well-known/apple-developer-merchantid-domain-association.txt. Once the merchant has placed it, they should contact Sipay so we can click “Verify.”
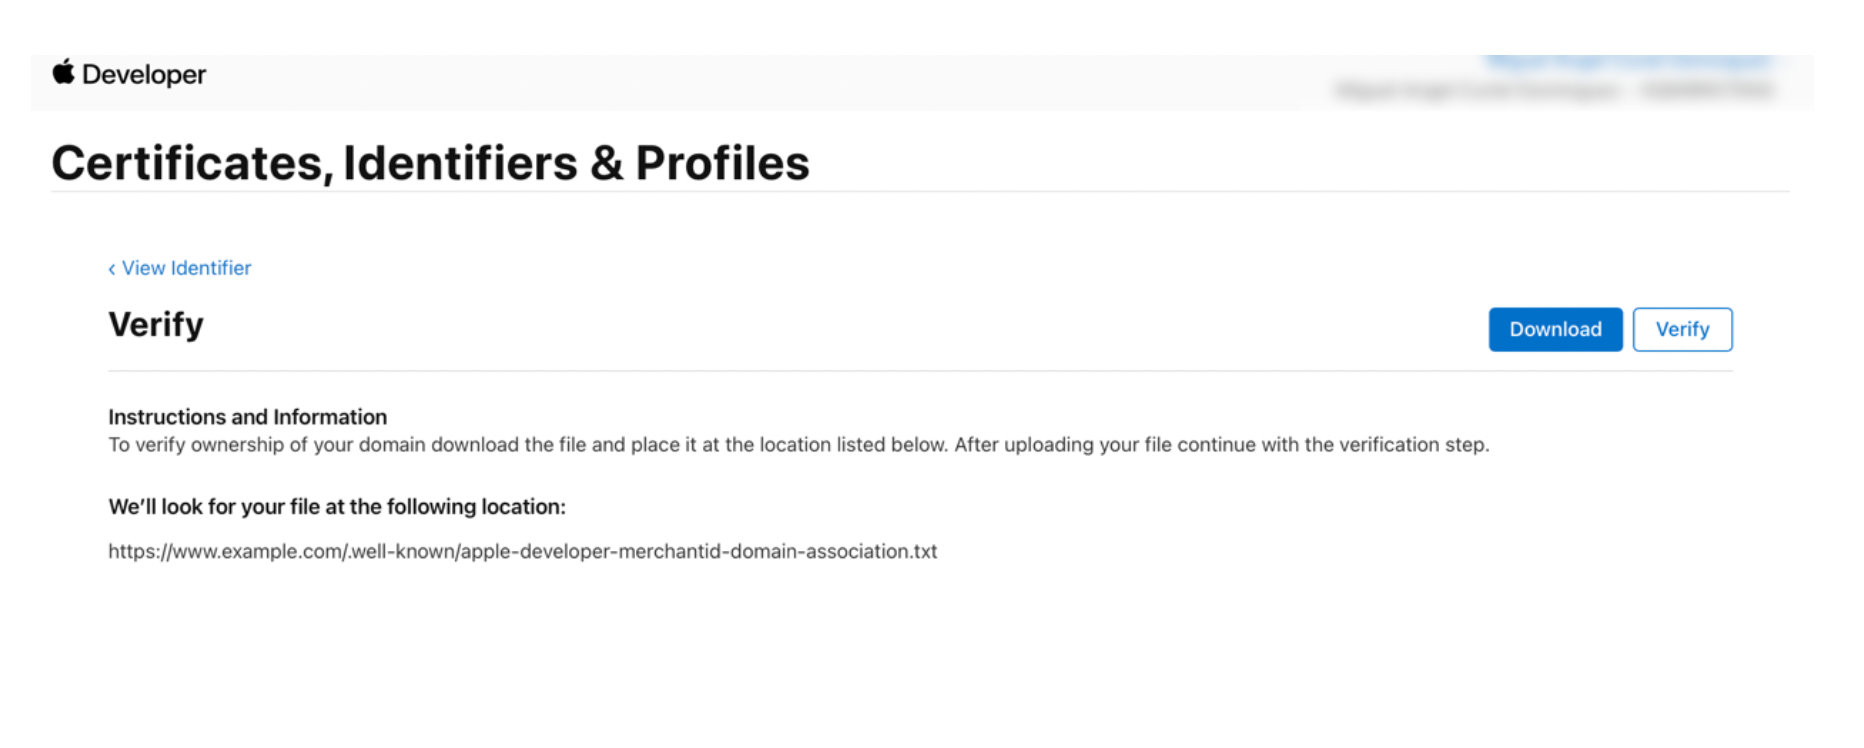
If all goes well, you should see:

This will display the expiration date of the merchant's website security certificate. It's important to record this date on a shared calendar to carry out renewal actions in a timely manner. If the validation expires, the merchant will no longer be able to operate with Apple Pay. Once the file is validated at the designated path, payments with Apple Pay can proceed.
Actions to be taken by the Merchant
Place the verification file, apple-developer-merchantid-domain-association.txt, provided by Sipay in the path https://www.example.com/.well-known/apple-developer-merchantid-domain-association.txt.
In this example, the domain used is www.example.com, but it should be the domain where the merchant's website will be in production.
If the merchant has completed a direct integration of Apple Pay, they should review the integration code and modify it for a production environment.
To do this, in the validateApplePaySession function, locate the message and, in the URL, set the variable to appleURL.
